

Your company details
Under Settings, then Workspace, then Business info, fill in your legal name, address, phone, email and license number. These appear on the letterhead of every estimate and invoice your customers receive, so this is customer-facing rather than housekeeping.
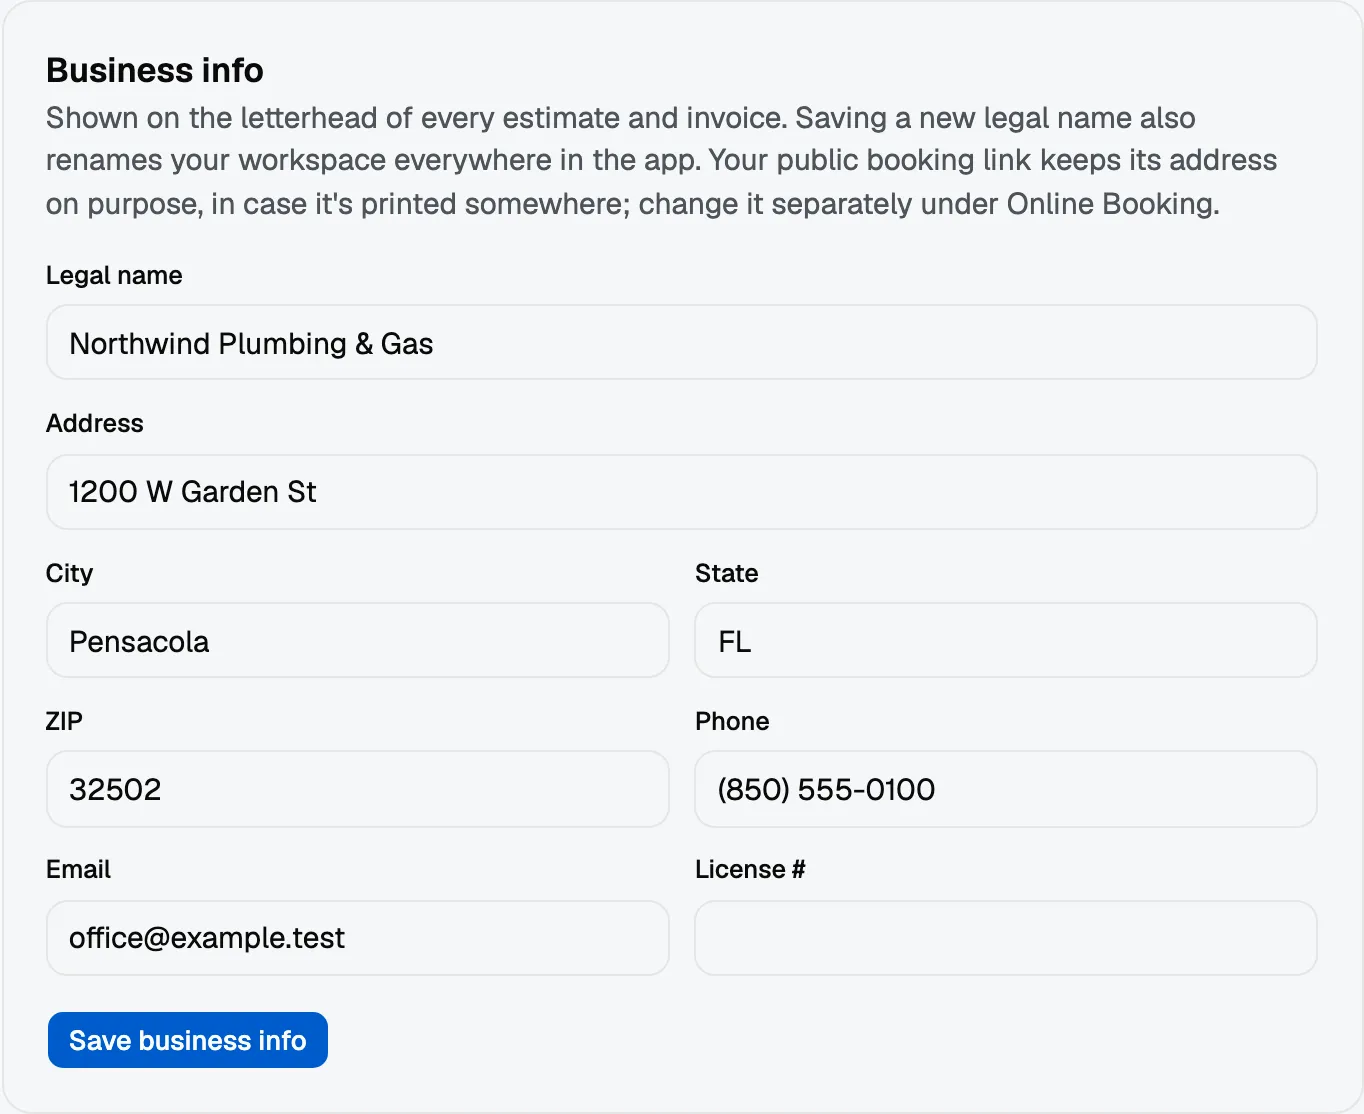
Settings, then Workspace, then Organization is not where these live. It shows what your workspace is called, and changing it changes nothing on your documents.
Document branding
Under Settings, then Workspace, then Logo & style, set your logo, an accent colour and the defaults a new document starts with. Your signature, directly below it in the same list, is where the owner’s signature is drawn or uploaded.
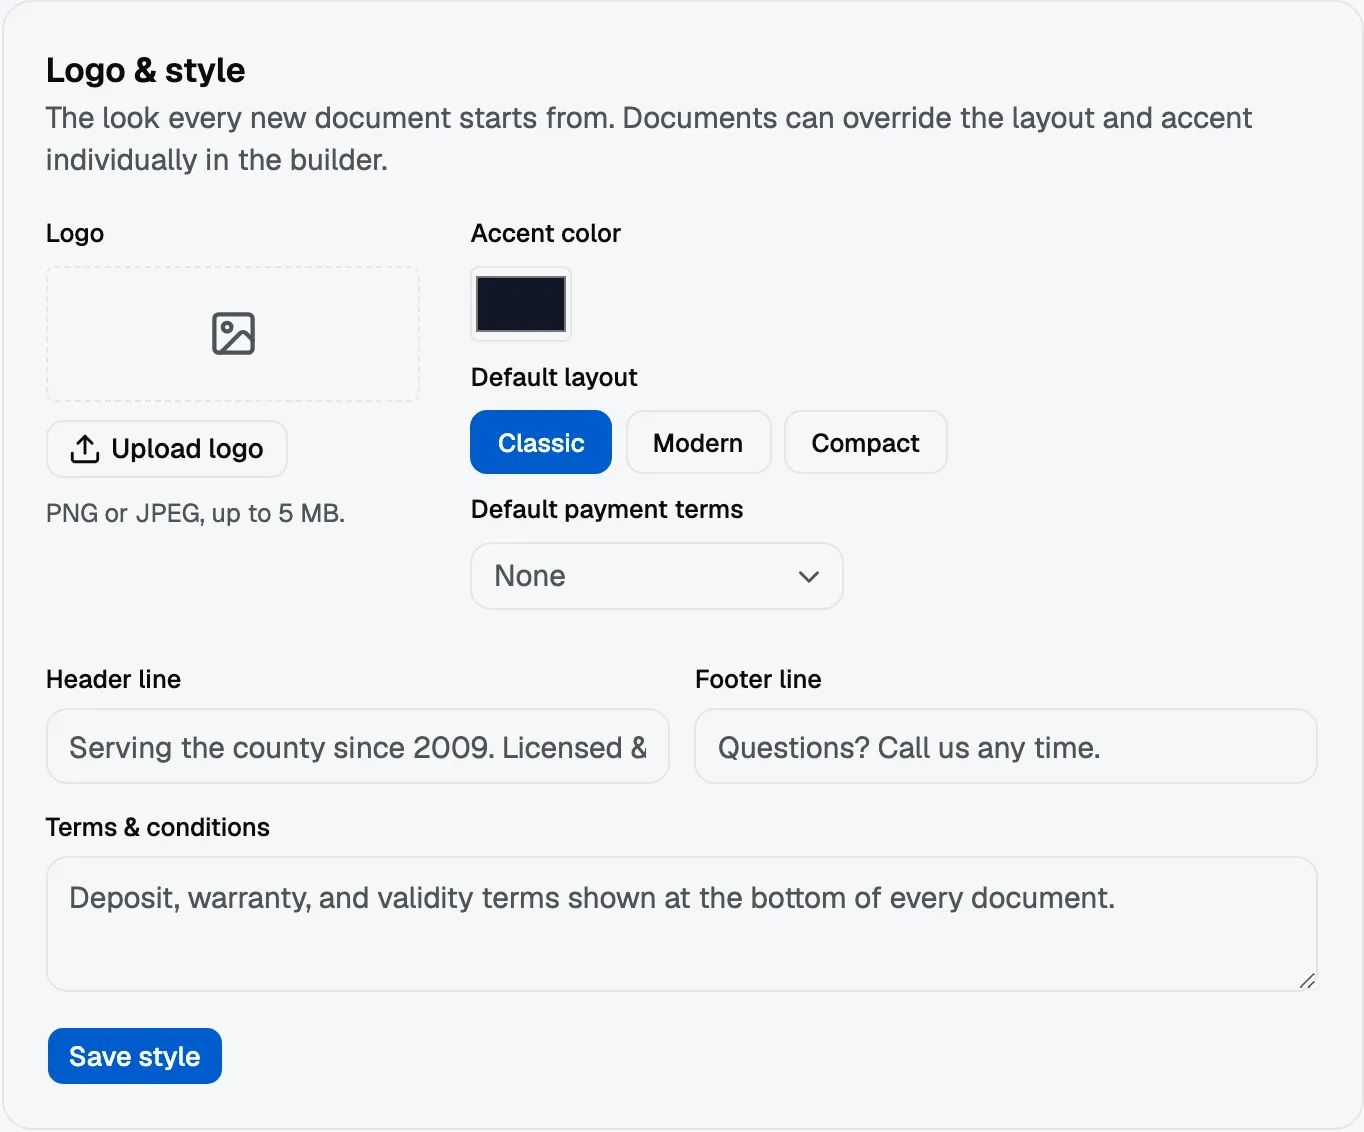
Do this once before you send your first estimate. Every document afterwards picks it up, and a quote that looks like your business does more work than one that looks like a form.
Job types
Settings, then Workspace, then Job Types is the list of work you do. Setting it up means jobs are labelled consistently, which is what makes reports worth reading later.
Custom fields
Under Settings, then Workspace, then Custom Fields, you can add your own fields to contacts and to jobs, for the things your trade needs that nobody else does.
Add the ones you will actually fill in. A field that is usually blank makes every record look incomplete.
Your own account
Settings, then Account is about you rather than the business. Profile holds your name, email and password. Security holds your passkeys and two-step verification, which is worth turning on and is covered in protect your account with a second step.